Growing potatoes in your backyard is one of the most rewarding gardening experiences. Not only are potatoes incredibly versatile in the kitchen, but they’re also surprisingly easy to grow. Whether you’re a seasoned green thumb or just starting your garden journey, this guide will walk you through when, where, and how to grow potatoes, plus share expert tips for a bountiful harvest.
When to Plant Potatoes
Timing is everything when it comes to growing potatoes.
Cool-Season Crop:
Potatoes thrive in cooler temperatures, making them a perfect early-spring or late-winter planting, depending on your climate.
Soil Temperature:
Wait until the soil reaches at least 45°F (7°C). A good rule of thumb is to plant potatoes about 2-4 weeks before your last expected frost date.
By Region
- Southern U.S.: February to March
- Midwest/Northeast: Late March to early May
- Pacific Northwest: March to April
If you live in a mild climate, you can even try for a fall crop by planting in late summer.
Where to Plant Potatoes
Potatoes need the right environment to thrive. Full sun is essential—6 to 8 hours of direct sunlight per day. Loose, well-draining soil with a slightly acidic pH (5.0 to 6.0) is ideal. Avoid soil that’s too compact or clay-heavy. Potatoes need space underground to develop. If your soil isn’t perfect, don’t worry—raised beds or large containers work great, too.
How to Plant Potatoes
Now for the fun part—getting those potatoes in the ground!
Step 1: Choose Seed Potatoes
Use certified seed potatoes from a nursery or garden center (not grocery store potatoes, which may be treated to prevent sprouting). You can cut large seed potatoes into chunks—each with at least one eye (sprout)—a day or two before planting.
Step 2: Prepare the Planting Site
Loosen the soil about 12 inches deep. Mix in compost to enrich the soil and improve drainage.
Step 3: Planting
Dig trenches about 6–8 inches deep, spaced 2–3 feet apart. Space seed potato pieces 12 inches apart in the trench, eyes facing up. Cover with 3–4 inches of soil, reserving the rest to hill later.
Step 4: Hilling
As the potato plants grow (around 6–8 inches tall), mound soil or mulch around the base, covering the lower stems. Repeat every couple of weeks. Hilling protects tubers from sunlight (which turns them green and toxic) and encourages more tuber growth.
Tips for Growing Healthy Potatoes
Here are some tried-and-true tips for a bumper crop:
Water Wisely
Potatoes need about 1–2 inches of water per week. Water consistently, especially once tubers begin forming (after flowering starts).
Mulch for Moisture
A thick layer of straw or shredded leaves helps retain moisture, suppress weeds, and prevent green potatoes.
Watch for Pests
Keep an eye out for Colorado potato beetles and aphids. Handpick beetles and consider natural pest deterrents like neem oil or companion planting with marigolds.
Avoid Over-Fertilizing
Too much nitrogen = lush foliage, but fewer potatoes. Use a balanced or low-nitrogen fertilizer.
Rotate Your Crop
Don’t plant potatoes (or other nightshades like tomatoes) in the same spot each year to avoid soil-borne diseases.
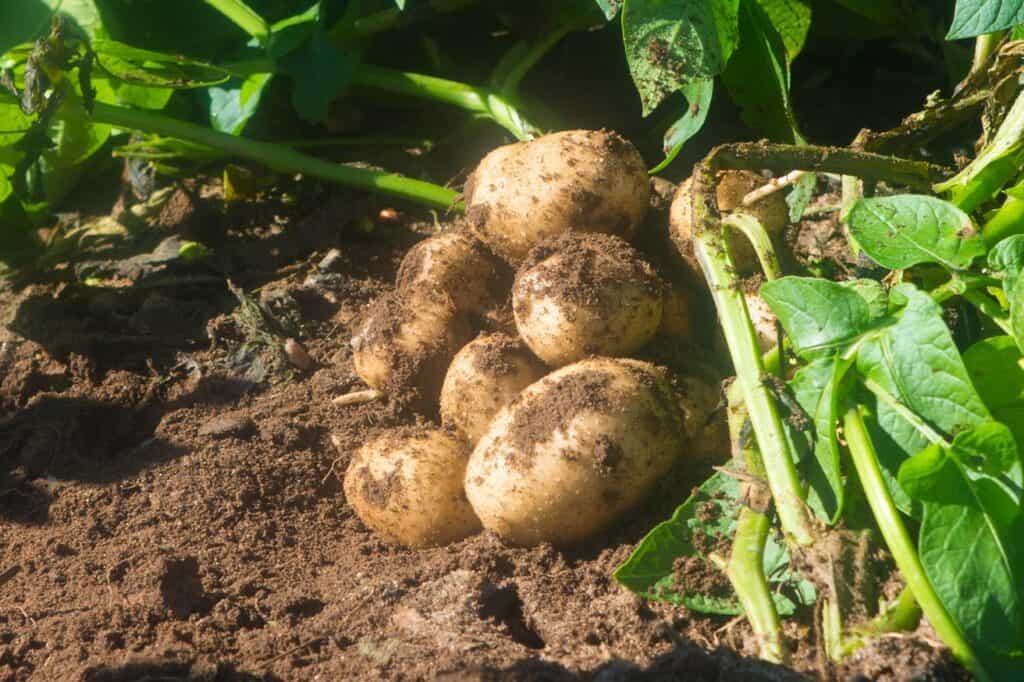
Harvesting Potatoes
The moment you’ve been waiting for!
New potatoes (small, tender) can be harvested about 2–3 weeks after flowering. Mature potatoes are ready when the plant’s foliage turns yellow and dies back—usually around 90–120 days after planting. Use a garden fork to gently lift the potatoes. Avoid piercing or bruising them.
Backyard potatoes are not only easy and fun to grow, but they also yield a surprisingly big harvest for the space they take up. With the right preparation, patience, and a little dirt under your fingernails, you’ll be rewarded with baskets full of delicious, homegrown potatoes.